Make Your Own Yogurt!
Hello Everyone! Today I want to share with you how you can make your own yogurt! (And Greek yogurt too!) Those of you who attend my regular WW meeting know that I like to talk about this and mention it quite often! This is because it is so cool, and so easy to do! If you follow my method, it will work every time! I promise! Yogurt is one of my favorite foods, and it is a healthy pro-biotic as well!
Unfortunately, even I do not always have the time to make yogurt, but when I can do it, I do, and it is totally worth it! I think if you give it a try, you will find that it is tastier and cheaper than store bought yogurt! And, how cool is it tell people “I made yogurt today!” Well, I think it sounds pretty cool anyways… Okay, here is the recipe:
Ingredients:
- A couple of tablespoons of your favorite yogurt (Make sure that it says it contains live and active cultures, otherwise it will not work. The yogurt must also be plain and unsweetened. Some people think that vanilla yogurt will make vanilla yogurt, or strawberry yogurt will make strawberry yogurt. Unfortunately this is not the case… you must start with plain yogurt. In this case, I used Brown Cow)
- Whole Milk (You can use as much milk as you would like, depending on how much yogurt you would like to make. I normally use a half gallon. 2% milk will also work, but I recommend whole milk or it will not thicken as much. 1% and skim, do not work that well, and normally when you buy non-fat yogurts they have artificial thickening ingredients added, which I do not add.)
Instructions:
Pour the milk into a large pot. Heat over medium high heat and stir constantly with a whisk. This is pretty important because if you do not this, the milk will burn on the bottom of the pan. You will have a terrible time cleaning it when you are done, so be sure to stir! Heat the milk until is just bubbles. You want to almost boil it, but not actually boil it. You will know you are close when the milk gets nice and foamy on top. I believe this step is to kill all of the “other” bacteria that might be in the milk. When you make yogurt, you are basically culturing good yogurt making bacteria, so you want make sure that that is the only bacteria that grows.
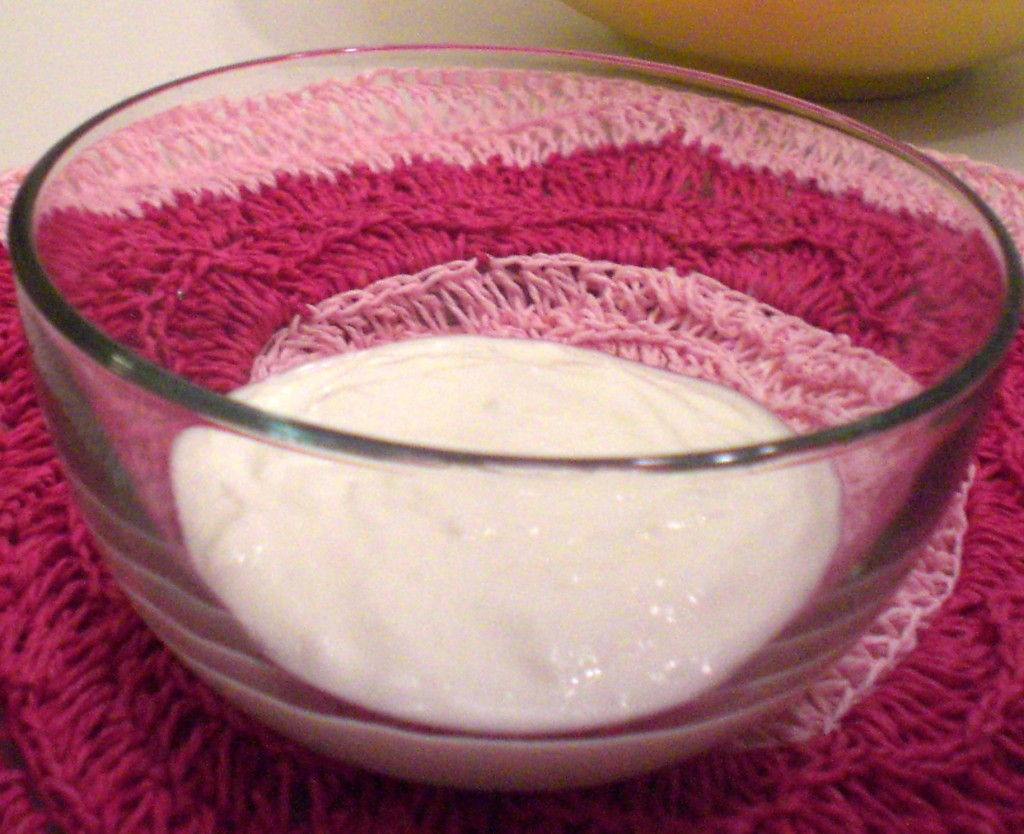
Once you have got the milk just to bubble, pour it into a clean metal or glass bowl. Do not use plastic. Let this cool until you can put your finger in the hot milk for 5 seconds. I know, this is really scientific… but it works! This is about 20 minutes, but use the finger test, because it will vary depending on the amount of milk you use, your bowl, and the temperature of your room, etc. Once your yogurt has reached this temperature stir in a couple of tablespoons of your plain yogurt. This is called “starter”. You may notice that there is a skin on your milk. This is totally fine and normal, and you can just stir it in when you add the starter. Place a plate over the top of your bowl and wrap this in a towel. Let it sit like this for 8-10 hours. I like to do it around 9pm and then let it go until morning. After that its ready to eat! I like to place a layer of paper towels on top of the yogurt once it is ready and then I just store it in the original bowl with the plate over it in the refrigerator.
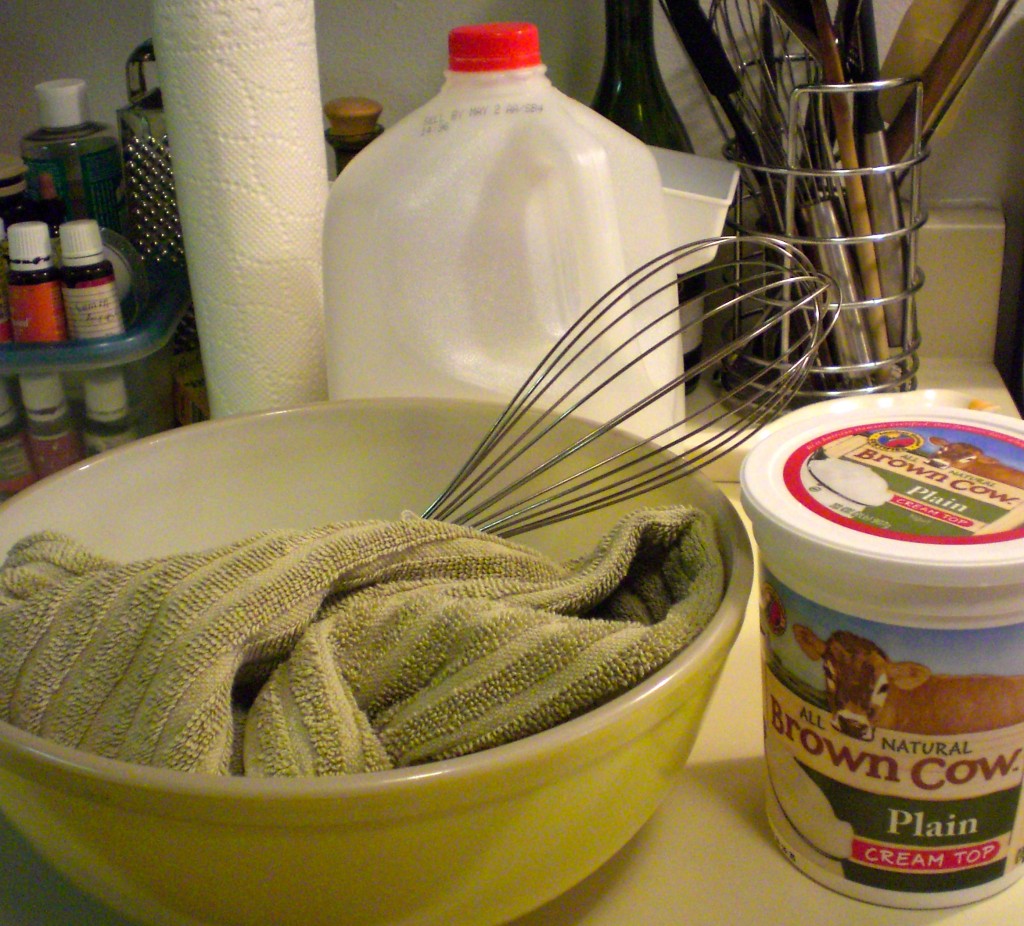
I have just a couple of tips:
- This yogurt should last awhile… at least a week to a week and a half.
- If you notice a clear liquid on top of your yogurt, this is totally normal. It is called whey, and you can either pour it out, or stir it into the yogurt. I generally pour off the whey after 1 day has passed, and then just stir it in for anymore whey that comes to the top after that.
- You can keep a couple of tablespoons from your previous batch and use it as starter. So once you start doing this… you do not have to buy yogurt at all anymore!
- If you would like to make Greek yogurt this is very simple. Just place a clean dish towel on top of a paper towel that is placed over the yogurt. Put the dish back on top of the bowl and store the whole thing in the refrigerator. Every couple of hours remove the dish towel and wring out the whey. Keep doing this until your yogurt reaches the desired thickness. That’s it!
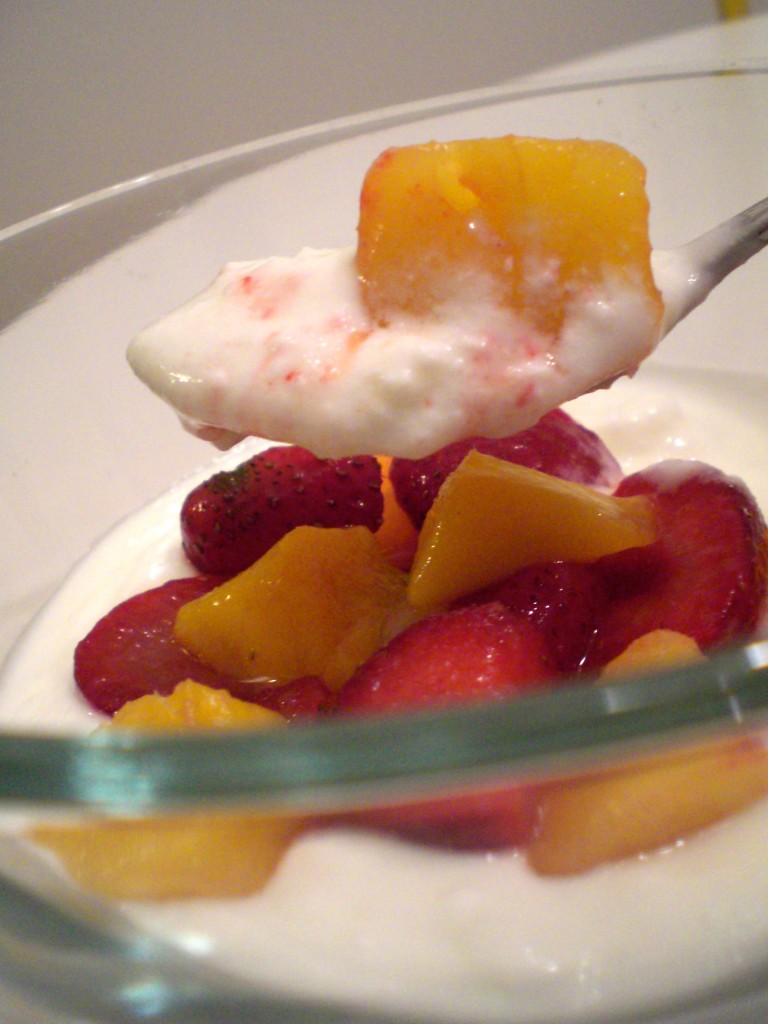
- Yogurt is very versatile. I like to eat it with some fresh fruit, or with honey. You can also make a great breakfast with it!
- 1/2 cup of yogurt is 2 WW PP. (Please note that if you make Greek yogurt, it will be more points.)
- I hope you all enjoy! Please let me know how it turns out if any of you try this!!! :-)

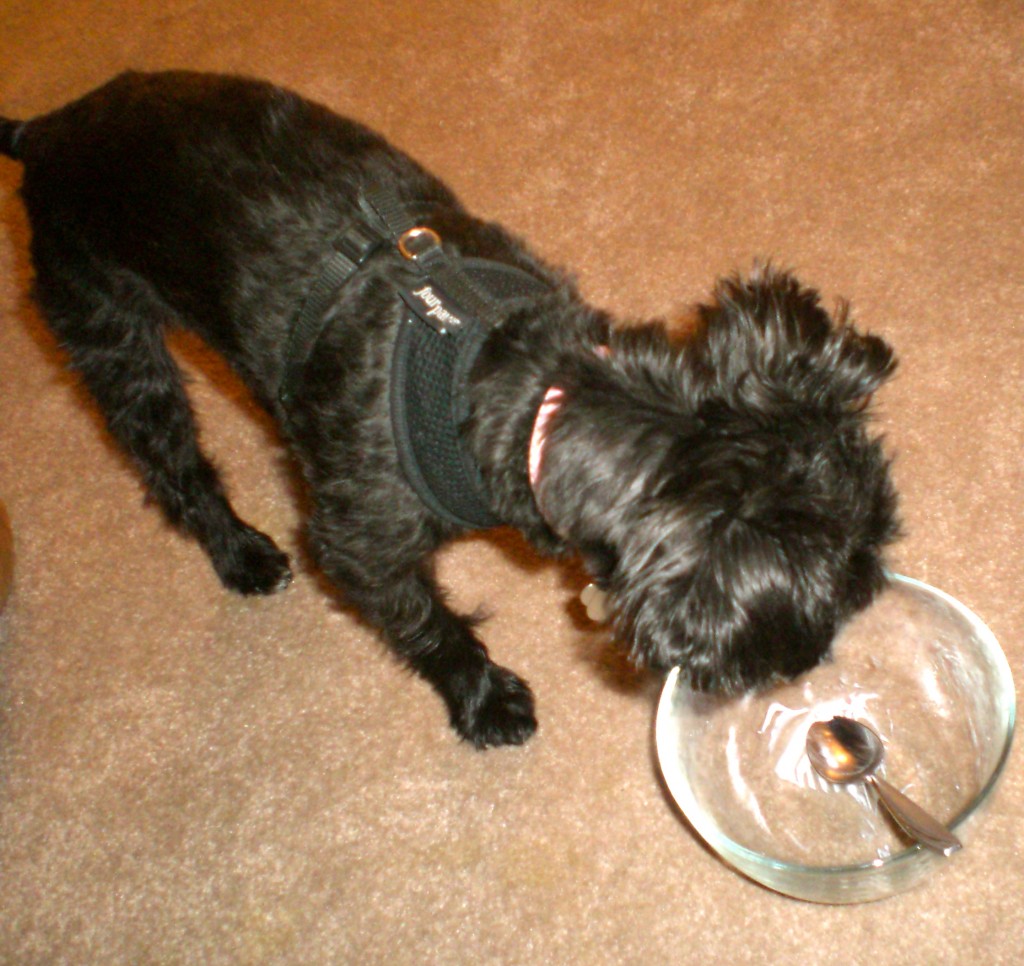
Just for fun, here is a picture of my dog Maria, eating some yogurt! Every morning after I eat my yogurt and cereal Maria gets to lick the remnants! She loves yogurt too!!!


7 Comments
Lindsey
That’s awesome, Sarah! I have always wanted to make my own yogurt…I’ll have to give it a try. For those 8-10 hours…do you just leave it out on the counter? Can’t wait to try it!
Lindsey recently posted…Signs of Spring
Sarah
Hi Lindsey! Thanks for stopping by and leaving a comment! Yes, just leave it out on the counter… it needs to stay warm! Let me know how it turns out for you!
Pingback:
Pingback:
Marie
Sarah, I am looking Forward to making your version of yogurt. Sounds Awesome and will be my first time ever! I would like to know more about the whey Pls. Isnt whey A protein And what does It do to the yogurt, The reason You take it out? My husband Use to put Whey in his Shakes After weight Loss Surgery for Protein, I believe. Excuse The caps They pop Up whenever They want for some Reason.
Thank you
Sarah
Hi Marie! Thank you for your comment! I hope that you enjoy the yogurt recipe!
Honestly I am not sure about how whey protein is made. The whey that I take out is a liquid, and you only have to take it out if you would like to thicken the yogurt! I hope this helps!!
Pingback: