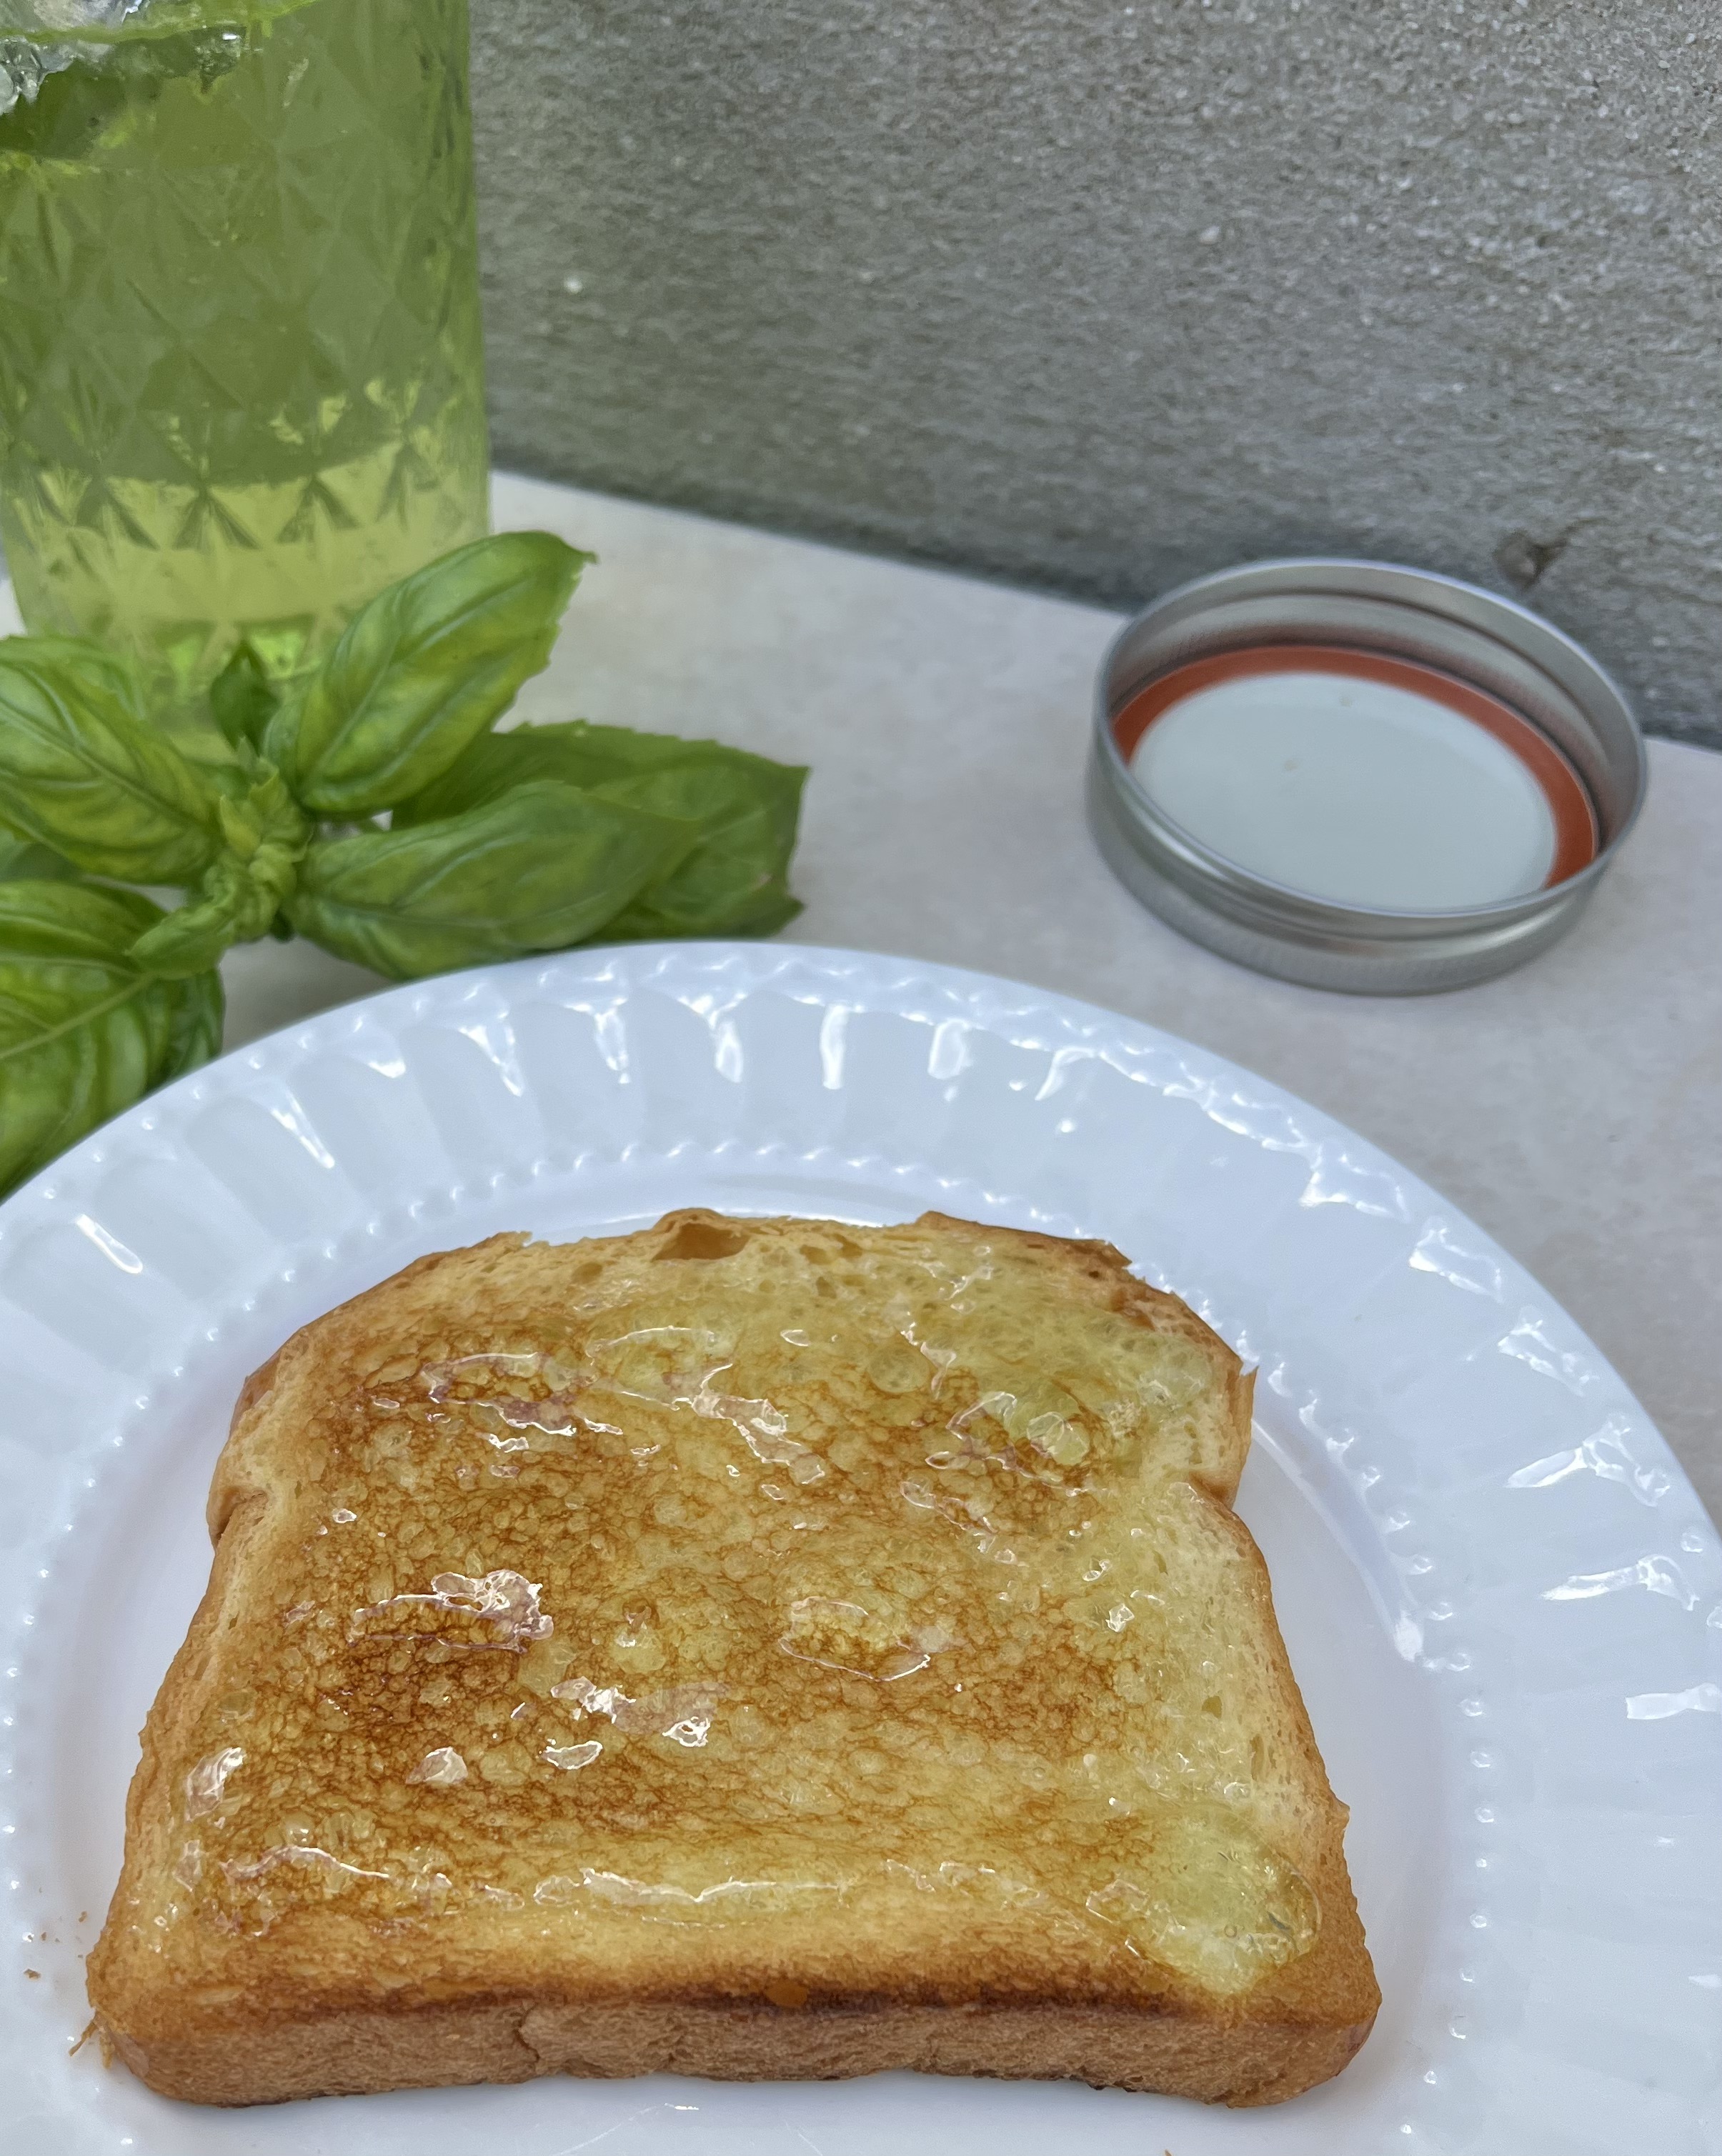
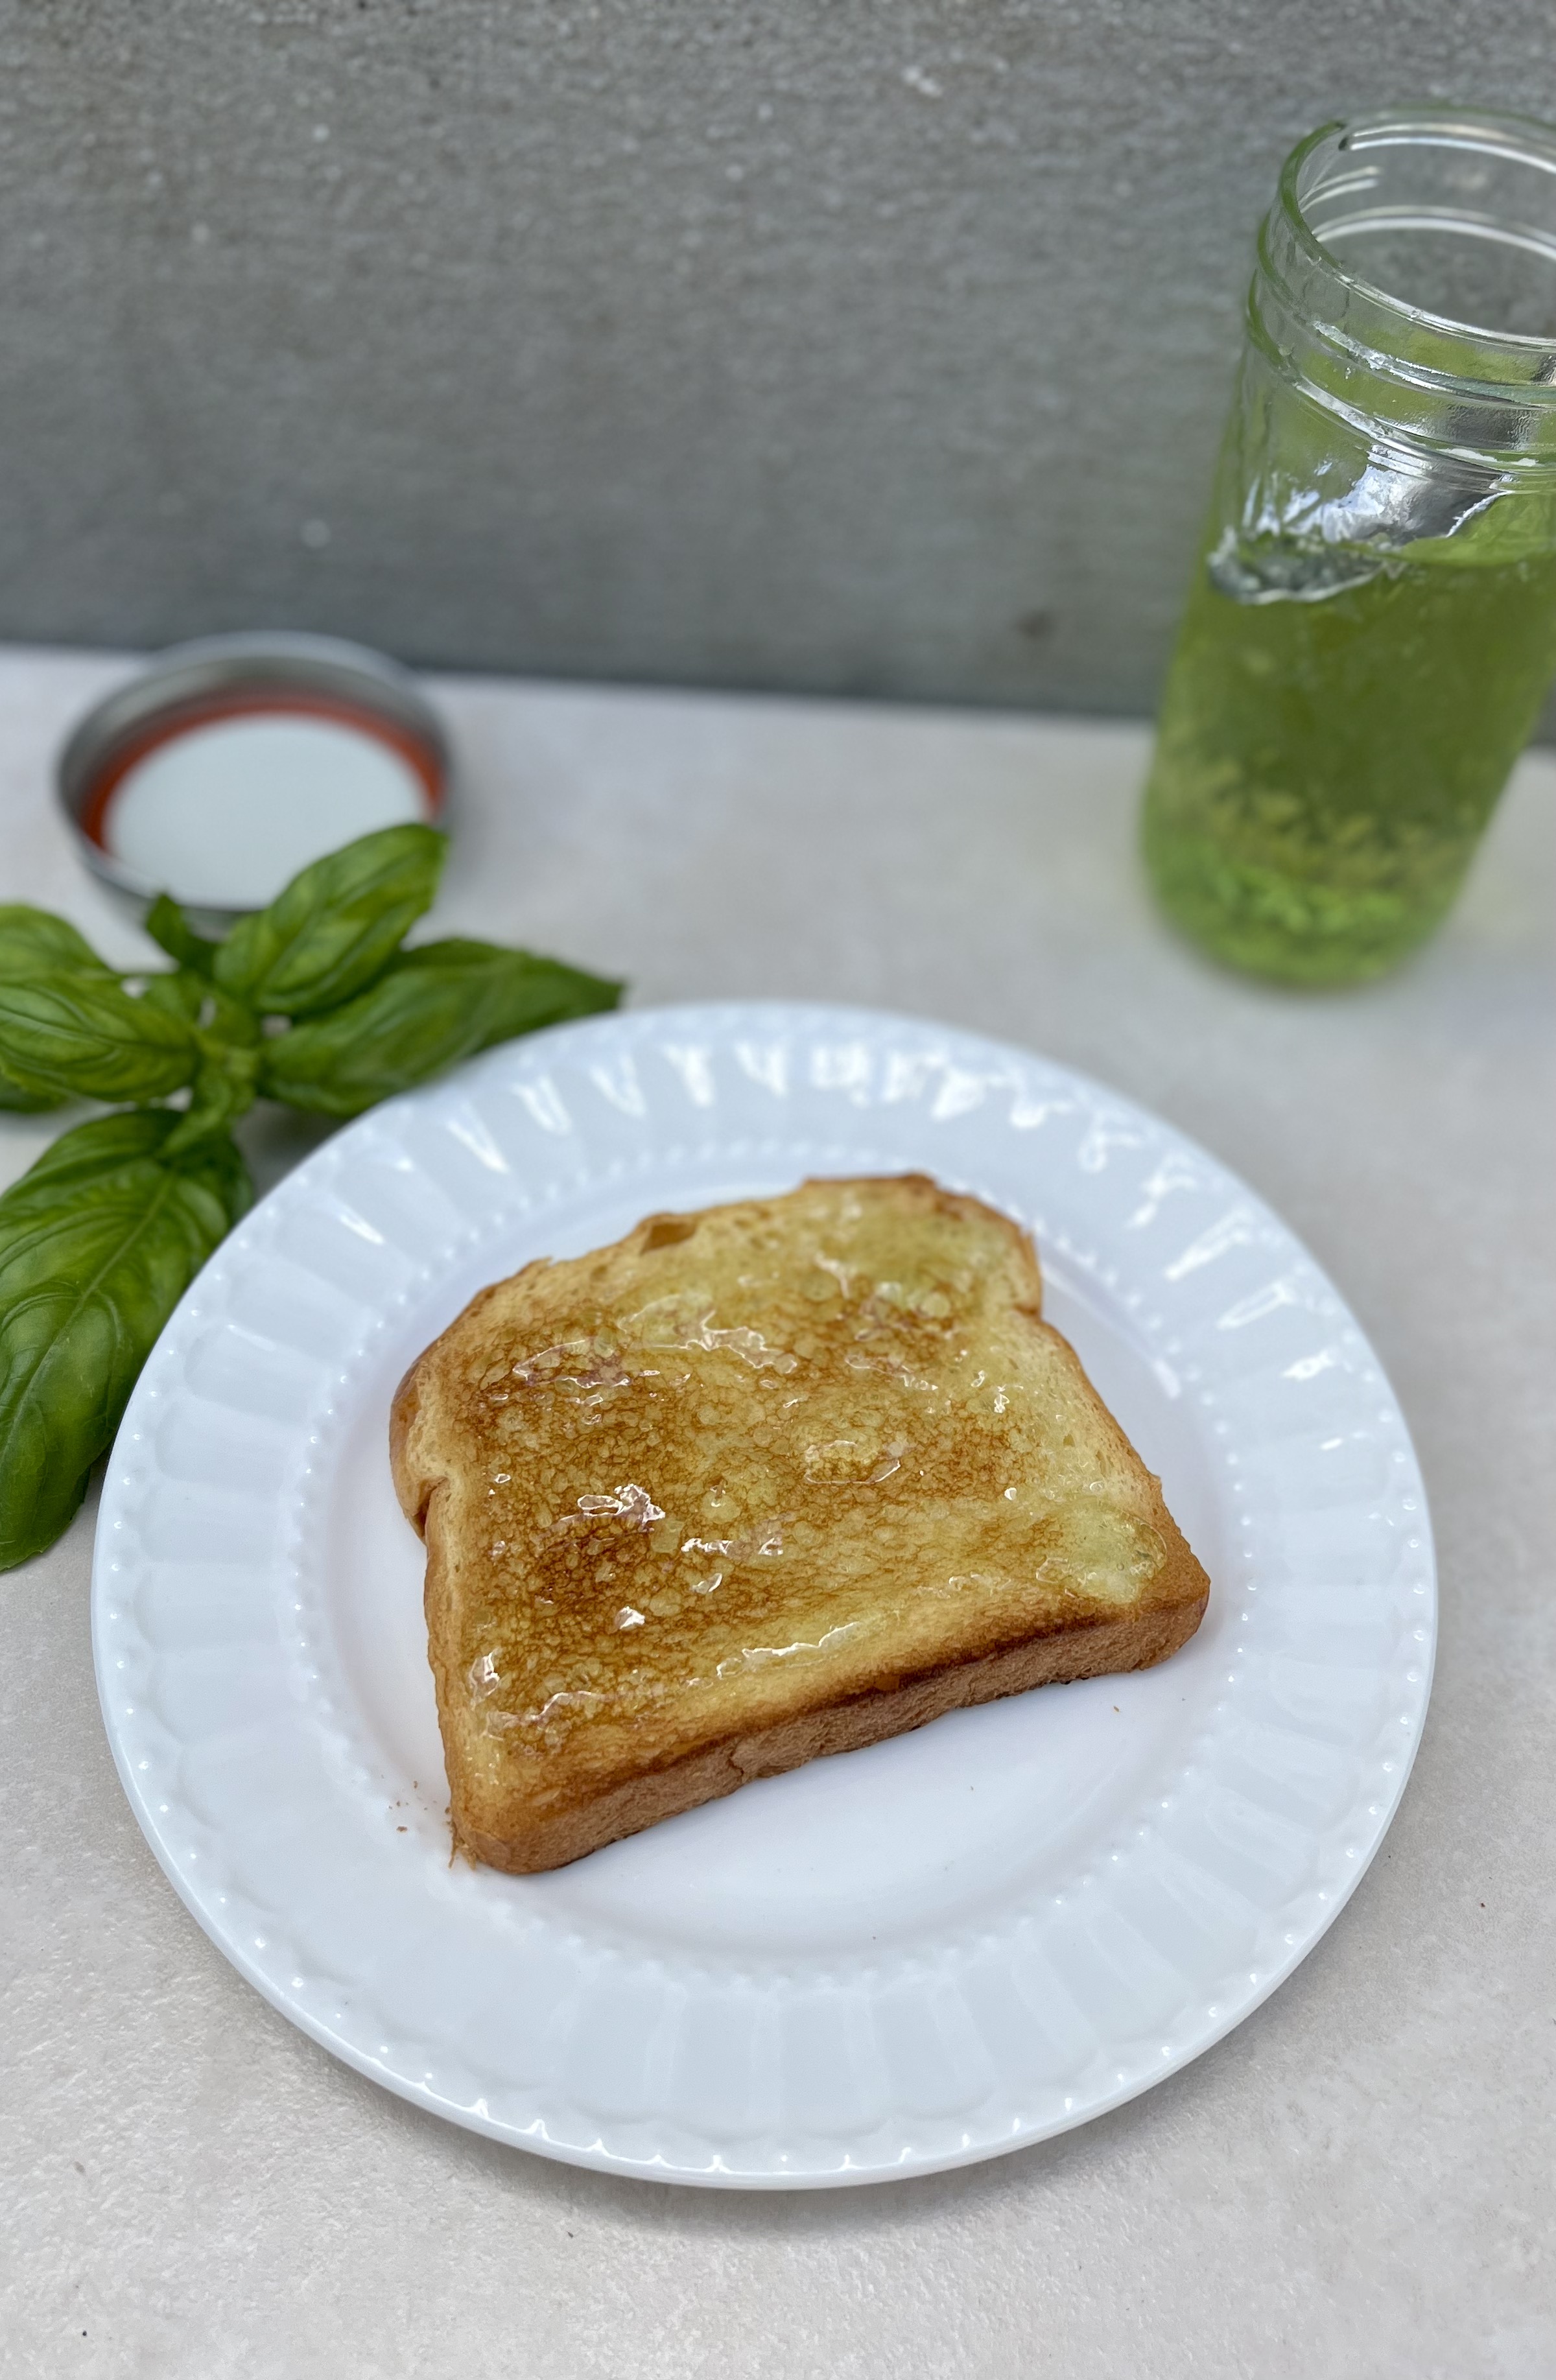
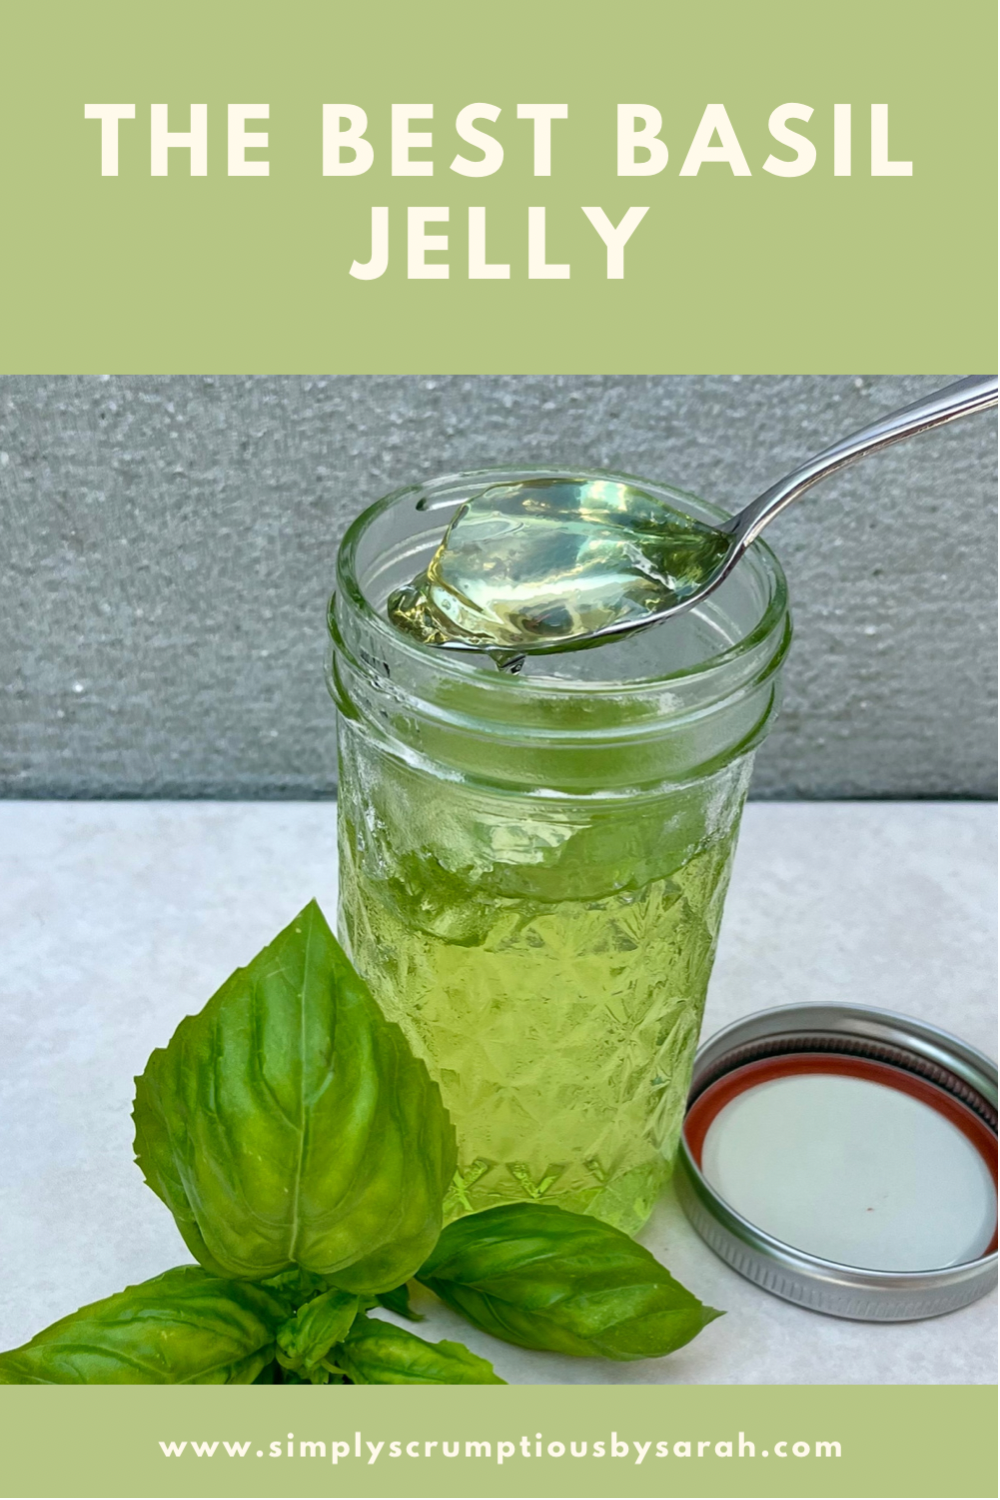
 Something that I greatly enjoy is gardening. I only have a small townhome, so all of my plants must be potted, but I am currently growing basil, and I have a wonderful crop this year. My mom suggested that I make basil jelly, and shared her recipe with me. It came out delicious and I wanted to share it with you all today. This jelly is very unique and gives a wonderful flavor to toast in the morning, or in a peanut butter and jelly sandwich. It also works very nicely on a charcuterie board.
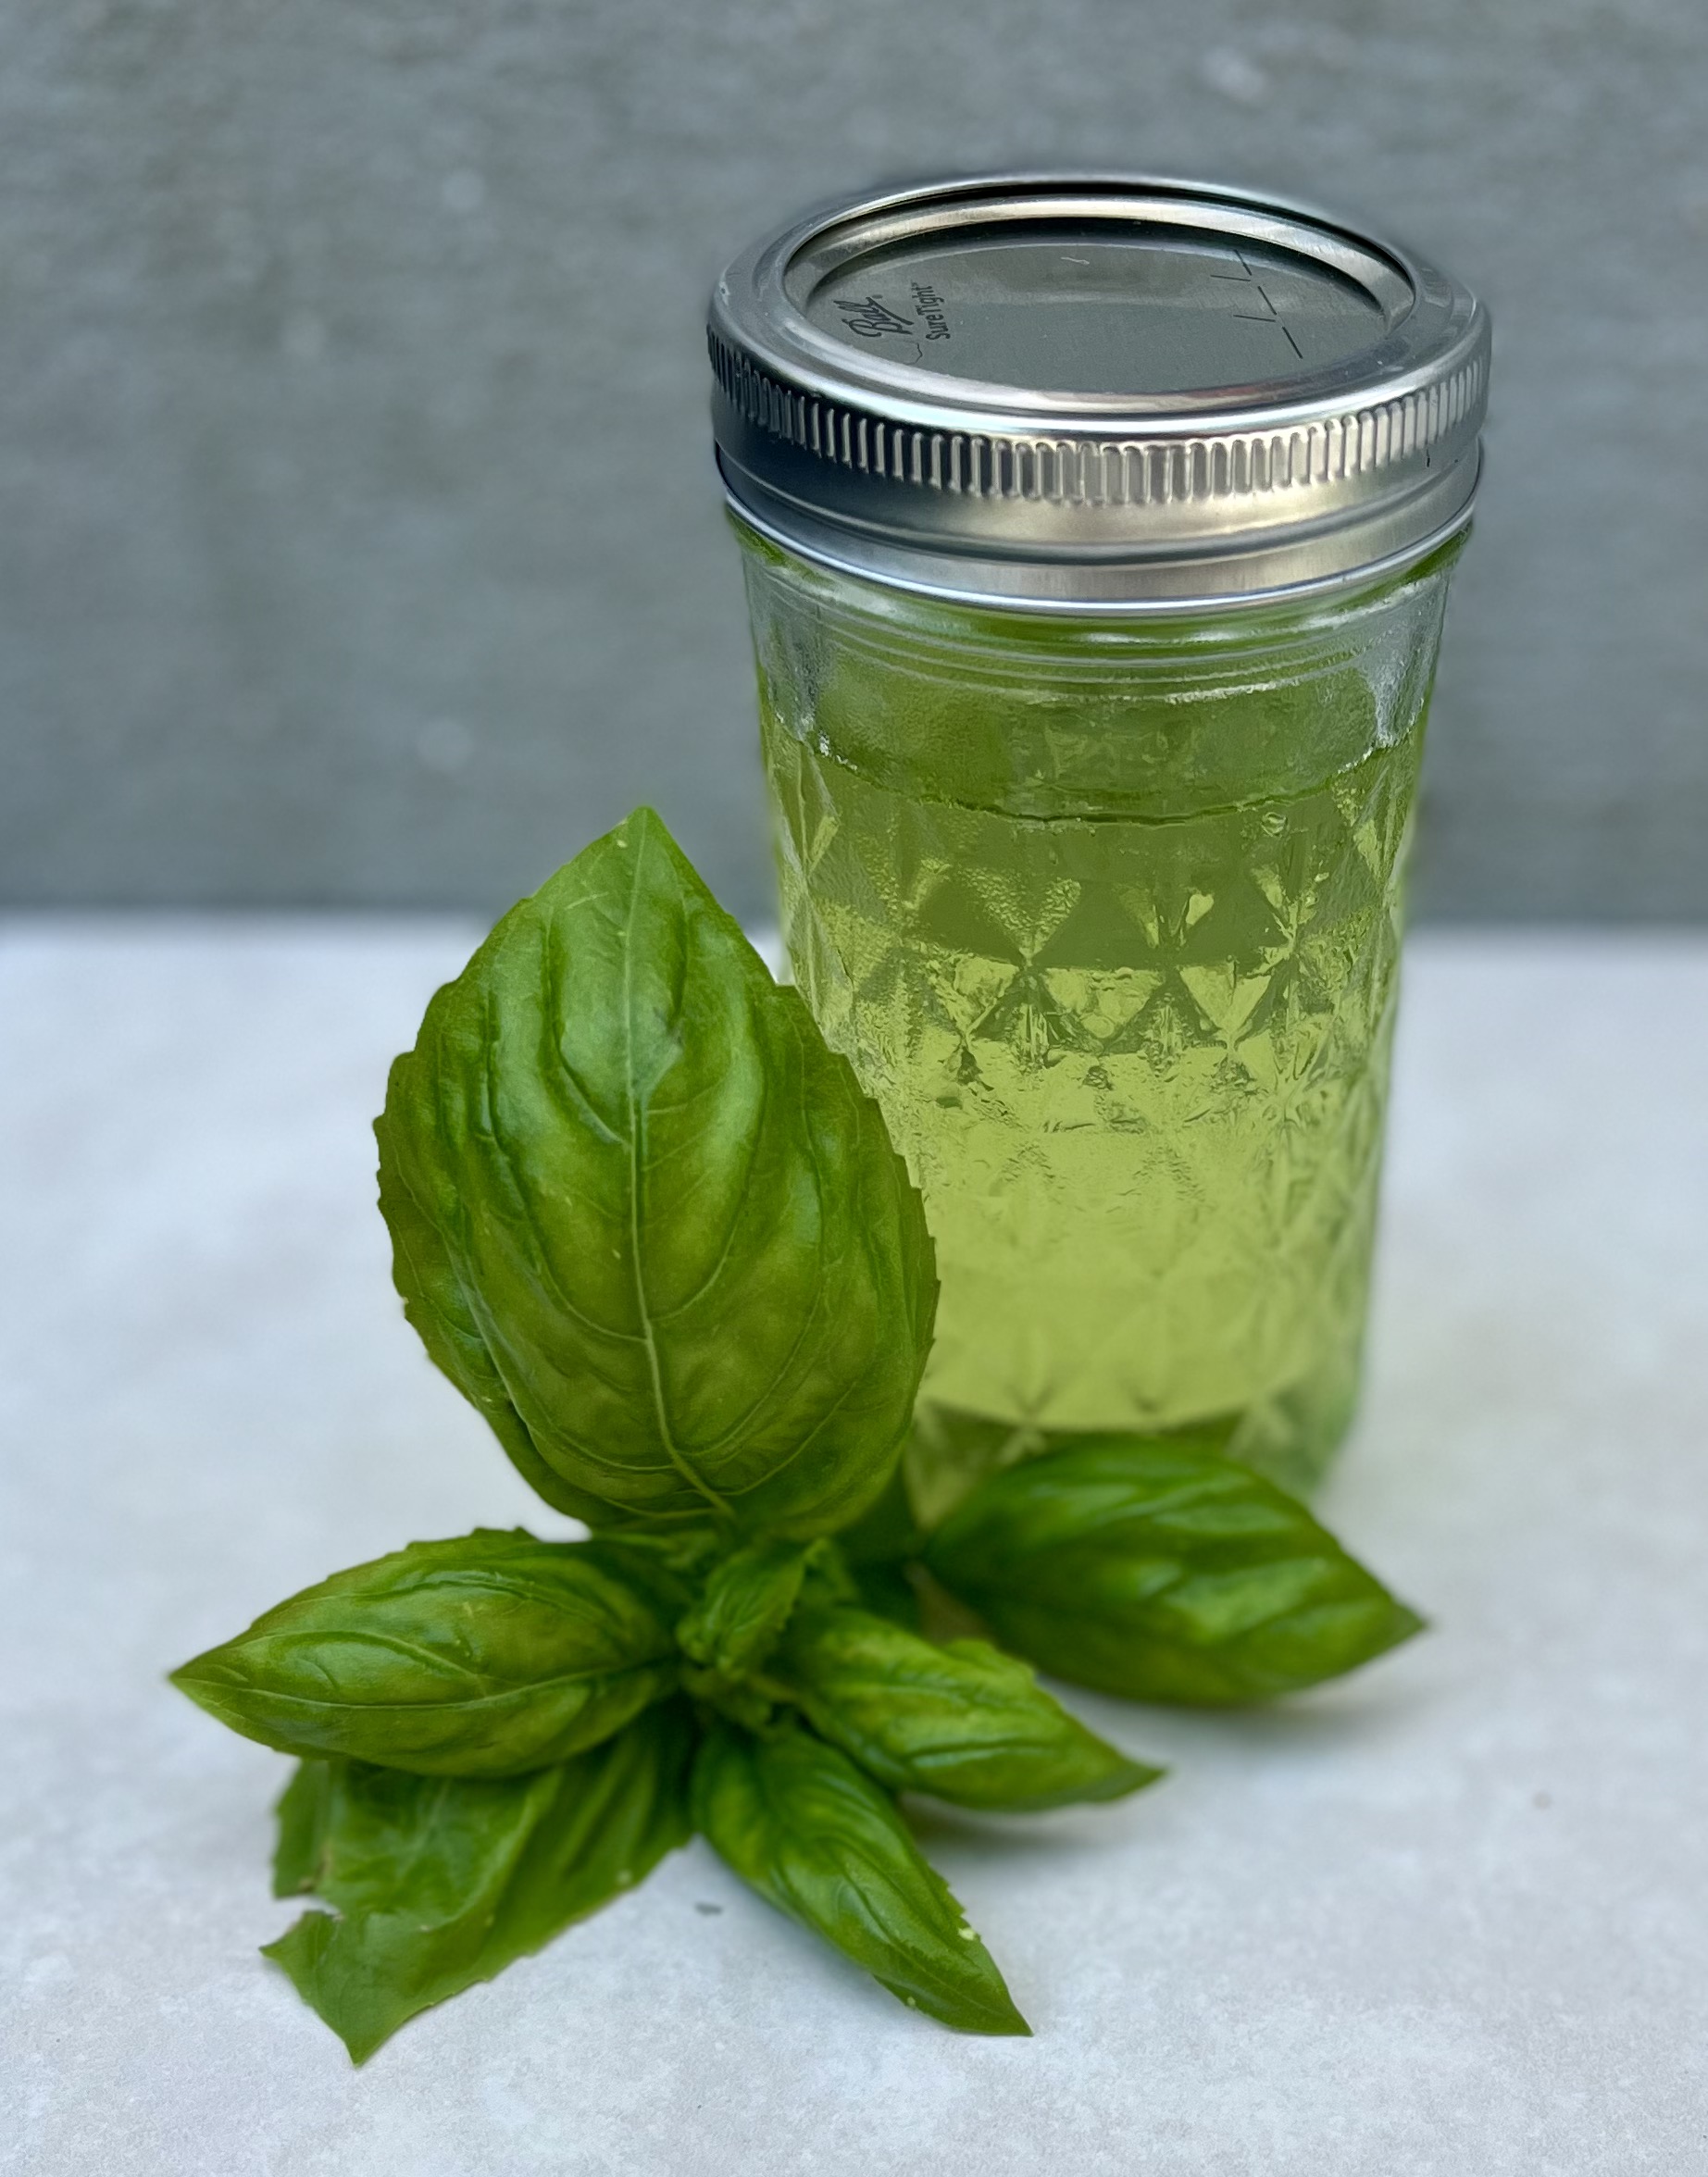
Have you ever wanted to make homemade jams or jellies, and thought “that is too hard!”, or “I don’t have specialized equipment!”? Well, today I am here to tell you that it is super EASY, and you do NOT need specialized equipment! This recipe is very simply and can be done without any sort of canning equipment. I hope you all enjoy!
Prep Time
10 minutes
Cook Time
10 minutes
Additional Time
5 hours
Total Time
5 hours 20 minutes
Ingredients
-
1 cup fresh basil leaves (I leave them attached to the stems)
-
1 cup apple cider vinegar
-
1 Tbsp lemon juice
-
2 cups water
-
6 1/2 cups sugar
-
Two 3oz pouches Certo liquid pectin
-
2 drops green food coloring
Instructions
- Sterilize canning jars, lids, and rims in the dish washer and let them dry. This is really important!
- Wash the basil leaves and dry.
- Place the basil, lemon juice, and vinegar in a large pot. This is important because it will boil up a lot.
- Measure and add the water to the pot.
- Add the food coloring to the pot.
- Heat the mixture until it just starts to boil.
- While the mixture is heating, measure out the sugar into a bowl so that it is ready to add all at once.
- Once the mixture has just started to boil, add in the sugar and stir to dissolve.
- Bring to hard boil and then add in the two certo pouches. Be sure to completely empty the pouches or the jelly will not set.
- Bring back to a hard boil and boil for 1 minute more, while stirring.
- Remove the basil with a slotted spoon.
- Pour the jelly immediately into the sterilized jars until they are filled.
- Take a damp paper towel and wipe the tops of the jars so that they are clean for the lids to seal properly. Set the lids on top of the jars and then tighten the rims on top.
- Turn the jars upside down on a towel for 5 minutes, then return to right side up and let them cool completely.
- The jars should seal (you will hear a ping). You can test this by pushing the button on the top of the lid. If it is down, it has been sealed. If not, it did not seal and the jam will need to be stored in the refrigerator.
- Successfully sealed jars are safe to store at room temperature until opened, when they will need to placed in the fridge.
Notes
This canning method is okay for jams and jellies only, because sugar acts as a preservative. If you want to can anything else, you will need specialized equipment. If any lids do not seal, you may store the jelly in the refrigerator and it is still good. Similary, if you don't want to can the jelly, just put it in a bowl and store it in the refrigerator.
Nutrition Information:
Yield:
90
Serving Size:
1
Amount Per Serving:
Calories: 63Total Fat: 0gSaturated Fat: 0gTrans Fat: 0gUnsaturated Fat: 0gCholesterol: 0mgSodium: 4mgCarbohydrates: 16gFiber: 0gSugar: 14gProtein: 0g
Nutrition Information is automatically calculated by Nutritionix and may not always be accurate.


20 Comments
Andrea
Beautifully photographed
Sarah
Thank you!!
Karen
I would be leery of this much vinegar. can you please say why you use this much – I’m open minded…
Sarah
Hi Karen,
It just comes out well and the flavor is delicious with the vinegar.
Pat
There is more vinegar in pepper jelly than in this one and it’s fabulous, been making for years, so I am sure the amount of vinegar in this recipe will also be fabulous, im planning to make some with basil from my garden this week, gonna make with purple basil also 🤗😍 I love making flower jellies too, I do wild violet and dandelion jelly every yr, thanks for the recipe
Sarah
I hope you enjoy it!!
Debby
I do too, as well as pepper 🌶 jams and jellies. This is the first I’ve heard of this jelly but I can’t wait to try it out. My dandelion jelly didn’t last 2 weeks this year.
Nellie
Do you have to use the liquid pectin? Thanks!
Sarah
Yes you do need to use the liquid for this recipe.
Donna McCormick
Can I use a boiling water bath with this recipe? Do I need to?
Thanks!
Sarah
Yes you can.
Amanda Lee
Can I use surejell?
Sarah
Hi,
I am not sure I have never tried that one.
Suzanne
This looks so good! What a great combination of flavors!
Sarah
Thank you!
Kristin
How much jelly does this make? I want to plan how many jars to have.
Sharon
I was pretty sure I followed all the steps but my batch did not jell. It has not been 24 hours yet, but I am guessing it’s not going to do much more. The syrup itself tastes pretty good. I am so disappointed. Any thoughts on what might have gone wrong? I may try reboiling some of them.
Thanks
Sarah
You need to make sure you squeeze all of the certo out completely. This is very important otherwise it may not gel.
Jonean Chance
You should not turn canning jars upside down to seal them, as this outdated practice, known as “inversion canning,” has been disproven and is considered unsafe.
Sarah
Hi,
It is unsafe for many things, but not jams and jellies. This method is safe due to the high sugar content.